Creating a Grid
The first step to creating realistic drawings is by creating a grid.
Watch the video below to learn the procedure for drawing out a grid
If after watching the video you need more information on creating a grid you can keep on reading...
Let's get started
You should have a place to draw, and your tools set up the way you want them.
The tools you'll need are
- a sharp pencil (a mechanical is best)
- a pencil sharpener (If you're not using a mechanical pencil)
- a straight edge, such as a yard stick or t-square
- your choice of paper
- Something to rest your hand on such as a sheet of paper, or cardboard
- an eraser (preferably a kneaded eraser)
- painter's masking tape, or drafter's tape
Step 1
- Taping down your paper
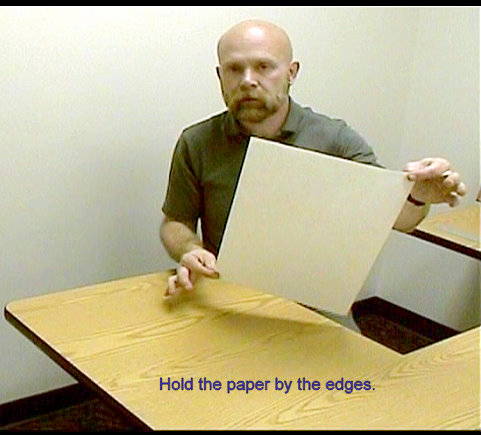
Make sure that you handle your paper by the edges. This will ensure that the oils from your fingers do not get transferred to the paper. Trust me... It's impossible to remove a finger print from some types of paper.
Place the paper on a spot where you can comfortably reach it while measuring out your grid lines...you don't want to have to lean out to far, it's not great on your back. The best place is close to the bottom right or left corner of the table.
Tape the 4 corners or edges down.
Put the tape on as little of the paper as is possible and still be able to hold it down.
Step 2
- Measuring out your marks
I'll assume that you can read and use a ruler. If not then let me know and I'll send you a quick lesson by email.
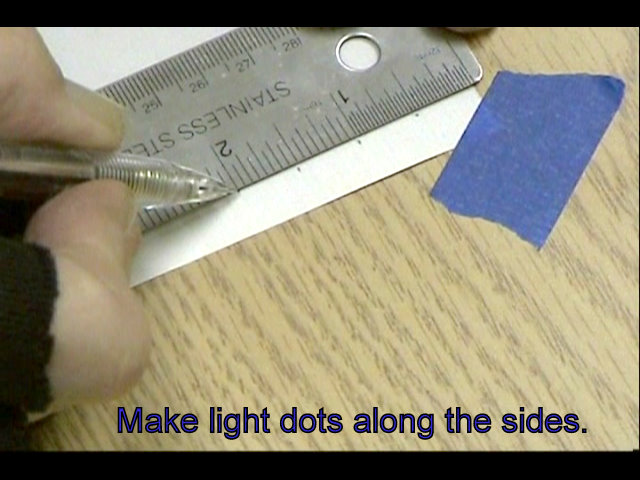
It's pretty much just holding down a measuring tool and putting small, light marks along the sides of the paper. The closer the marks are to the edge of the paper the better.
The spaces between the marks will depend on whether your enlarging or reducing from the reference your using.
Step 3
- Connect the dots
This where a measuring tool long enough to reach all the way across your paper is useful.
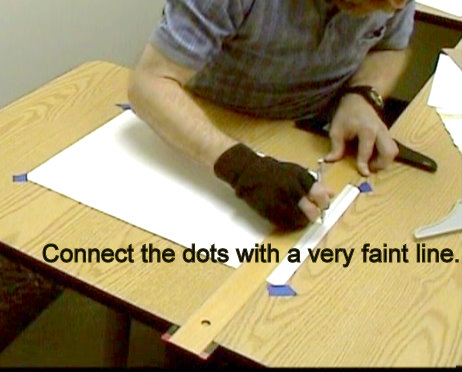
You will take some sort of straight edge and use it to line up the dots so that you can connect them together...across, and up and down.Do this with a very light touch so that the resulting grid is very faint.
Here is an
example of a completed grid. The lines are darker than I would normally draw them so that they would photograph better.
I do have a few pointers for you...
- If when measuring and marking the right-side marks you begin at the top, then start at the top when you do the left-side measurements. Additionally, when marking your points across the the top and bottom, you should start on the same side for each one (right or left).
- Use a measuring tool that is long enough to go across the whole length and width of the paper. This is not as crucial now as it will be when you begin drawing the lines. I sometimes use a t-square with the measurements printed on it. You could also use a yard stick.
- When creating a grid, use the lightest touch possible. You should be able to barely see the lines. You'll want to be able to easily erase the lines later after creating your outline.
- Use something to put between your drawing hand and the paper. I use a modified jersey glove with the thumb, first and middle fingers cut out. You can also use a piece of paper or cardboard to lay your drawing hand on. Be careful... don't drag it along the paper so as to not smear the graphite.
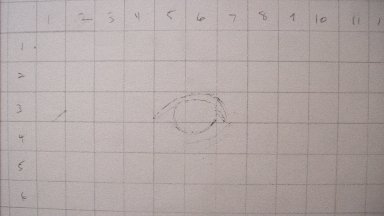
- You might consider numbers/letters across the top and down the side as is illustrated in the photo above
Well that's it for now. If I think of anything else I'll add it into the content of the page.
The grid drawing method is a pretty neat way to get an an accurate outline before finally producing a realistic drawing you'll be proud of.
And creating a grid wasn't all that difficult...was it?
As always... let me know if there is anything that you need clarified. I'm more than happy to clear things up.
Home> Drawing Tutorials> The Grid Method> Creating a Grid
Subscribe to my Newsletter


